
Painting is one of the projects that most homeowners will try and take on themselves.
If you are trying to fix up a house, a little paint can go a long way.
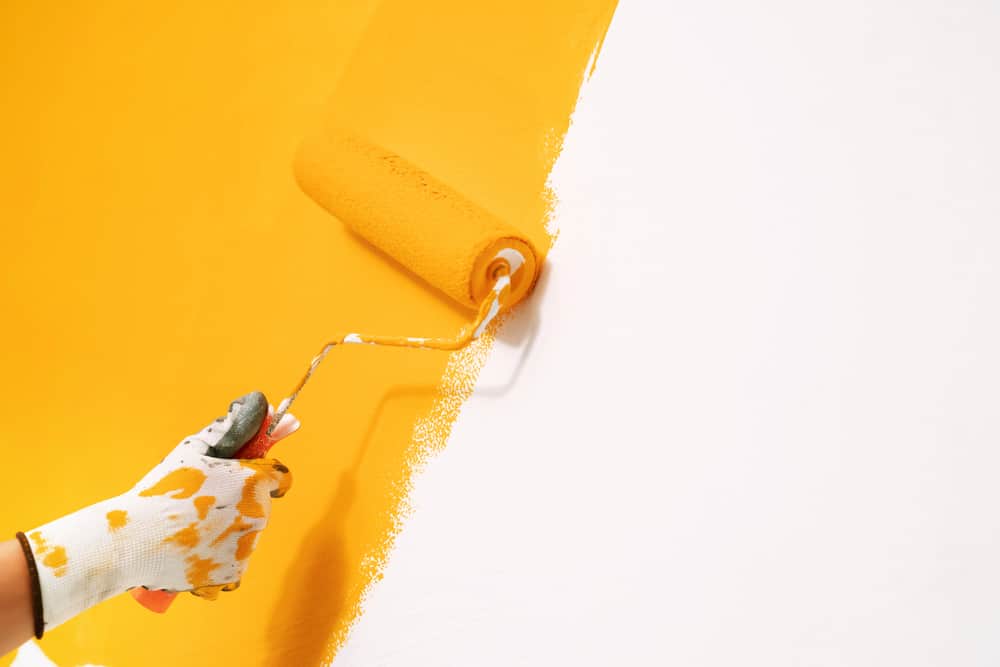
Most of the time, paint is an inexpensive way to get the walls of your home looking as good as new.
Although most people think painting is very easy, you will still need to ensure that you do a good job with this process.
A poor paint job will really stick out and make a home look as though it needs some updating.
One of the major issues that homeowners run into is wallpaper covering areas of their homes.
If you have an issue with wallpaper, here is what you need to know about painting over it.
Can You Paint Over Wallpaper Border?

If you need to paint over a wallpaper border, you can do so, but you must follow certain steps to prepare the surface.
The problem with a wallpaper border is that it is raised on the wall.
This means that if you don’t treat it properly, you are going to find that the wallpaper border will always stand out and be raised from the wall.
Even with your new paint color over the border, this is something that you will want to be able to cover entirely and not see any raised areas on the wall.
Let’s take a look at the process of painting over a wallpaper border and the things you can do to remove a wallpaper border completely.
How To Paint Over A Wallpaper Border The Right Way

If you have tried every trick you know, and the wallpaper border just won’t come down, it’s time to paint over it.
In order to do this properly, you must ensure that the wallpaper border is attached to the wall firmly and that you smooth out the edges.
If for some reason, you think that the border is starting to come off the wall or could peel, then you do not want to paint over it.
Even with the paint on it, the border could continue to peel off and potentially come off the wall after the painting project is complete.
Here are steps to take to ensure that this is done properly.
Step 1: Prepare The Wall

The first step of this process is to prepare the wall like you would for any paint project.
Ensure that there is no dust in the area and that you are going to be able to paint directly on the wall and have it come out smooth and clean.
The wall is going to need a coat of high-quality primer.
The primer will help to ensure that the area where the wallpaper border is gets smoothed out a bit as well.
You can prime right over the wallpaper border, but you need to make sure that you are using plenty of paint.
There is some thickness to paint, and we will use that to our advantage.
The bit of thickness can help fill the gaps around the edges of the wallpaper border.
Step 2: Allow For Proper Drying Time
Although some high-quality primer will tell you that it is ready for recoat in an hour, we suggest giving the primer 24 hours to dry.
Sometimes it can have a bit harder time sticking to the wallpaper, and you don’t want this to cause any issues for you.
Once your primer has dried properly, you can move to the next step.
Step 3: Fill In Edges

Next, you will want to take a look at how your wallpaper border is blending into the wall.
Chances are there is a very small gap between the border and the wall.
This is the gap that needs to be filled before the final coat of paint.
If you don’t fill this properly, you will end up seeing the wallpaper border under the paint.
To fill this gap, you can use a bit of spackle on a small spackle knife.
Simply go around the room and apply a very small amount just on the edges of the border.
Ensure that the spackle is smooth and that there are no clumps or bumps before you move to the next step.
Sometimes it takes a bit of practice to get good at this skill.
Many people find that taking wallpaper down could be easier than having to smoothly fill in this gap.
You can decide for yourself which skill is going to be a better fit for you.
Step 4: Top Coat
Once you have your gaps filled in and everything seems as smooth as can be, you can start the top coat of paint.
Although we always recommend using a high-quality paint, the importance is even greater when it comes to this situation of covering a wallpaper border.
The higher quality paints tend to be thicker, and they cover over any imperfections and fill them in.
If you use cheaper paint, there is a chance you may see the wallpaper border through the finished project.
This is especially the case if you are going over the border with a light-colored paint.
Once you have done one top coat, we recommend doing at least one more.
The finished project is going to turn out much better if there are two coats of paint.
The process for painting over a wallpaper border is not complicated, but it does require the extra step of cleaning up that one edge.
If you think that the wallpaper border is impossible to remove, this is certainly something to try.
However, there are lots of ways to remove a wallpaper border, and sometimes it is just a matter of giving it a really good try before you decide to give up on it.
Here are a few of our best tips for getting the wallpaper border off the wall.
Tips For Removing A Wallpaper Border

Truly, the proper way to paint the wall is to first remove the wallpaper border.
If you don’t get the border off, you are not fully and correctly completing the project.
There could very well be situations where you will see the border under the paint.
Let us tell you that this will not be a look that you are going to want in your home.
Here are a few tips that can help make this process a bit more manageable and give you some better luck with getting the border off.
1. Find A Corner

Sometimes removing a wallpaper border is easy if you can get a starting point.
In areas where the paper may be of a slightly cheaper quality, like a bedroom, you can usually find that there is a corner somewhere with the wallpaper starting to peel.
Take advantage of this as a starting point and try to work your way around the room from here.
This is not going to be difficult if the room is a bit older and you think that the paper is ready to come off.
Look for any seams and corners and make this your starting point.
Obviously, when removing wallpaper, one of the things to watch out for is that the wall does not get scratched up too much.
By finding a starting place in a corner, this project can happen quite a bit more easily.
2. Score It

If you can’t find a corner, it can make sense to score the wallpaper.
When you score it, you can loosen it from the wall and then have the liquid that you are going to use to remove the paper actually penetrate to the glue.
When you are going to score wallpaper, it is essential to use a tool that is built for use on wallpaper.
If you use something that is intended for other purposes, it could end up scratching the wall and leaving you with a much bigger project.
Wallpaper scorers are meant to get through the wallpaper but not get to the other side of it and create damage to the wall.
If your wallpaper border is very stuck on the wall and it is secure, you are going to need this step.
Without the wallpaper scorer working to help you, there is no way that you will get to a starting point to be able to remove the paper.
3. Water Or Solution

Many companies sell a solution that is built specifically to penetrate through the score lines in your wallpaper and get to the glue behind it.
The glue is then supposed to loosen up because of the solution that was sprayed on it.
These products work most of the time, but there are also some home remedies to get this finished.
The combination of soap with a little water also works quite well.
In other situations, we have used just water in a small spray bottle, and it also does the trick.
The bottom line is that when the glue gets wet, it makes it much easier to peel off the wall.
The wet glue will be your only way to ensure that the border starts to detach from the wall.
Remember that you still have to ensure all of the glue comes off once the wallpaper border has come off.
If you paint over glue on a wall, you will notice it immediately as well.
The paint will not stick to it properly, either.
4. Glue Must Go

The final step of wallpaper border removal includes removing all of the glue.
If you are not able to get rid of all of the glue, then you will have a lot of work ahead of you trying to get the wall to look smooth.
The glue removal can be harder than the paper removal.
The best tip here is that the wetter you can get the glue, the better chance you have of getting it to come off the wall.
Glue is sticky, and it is annoying to work with.
Many people will use a putty knife to scrape the glue and then use water to wash the area down once the glue is off.
It is important to remember that if you damage the wall in any way, it could cause you to have to spackle more when you move to the painting process.
Conclusion
Hopefully, you can now see that although painting over wallpaper is possible, it is not always the best solution.
You will have to work quite hard to get the finished project to look smooth and come out correctly.
With the tricks we have available to help remove the wallpaper border, this is really your best route.
Giving the border a bit of extra water to help it fall off the wall will result in the best long term look for your home.
If you are going to take on a home improvement project, it pays to do it right.


Leave a Reply