
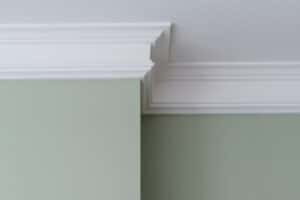
Caulk protects the home by sealing gaps and holes.
It prevents water, bugs, and other outdoor problems from entering the home.
However, there may come a time when you need to remove it.
How To Remove Caulk From Walls (5 Methods To Use)

There are five methods you can use to remove caulk from walls.
We will cover them all here with a step-by-step guide on how to perform each of them.
Method 1: Caulk Remover, Utility Knife, Needle-Nose Pliers, 5-in-1 Tool, Bleach

This method uses a standard caulk remover and a few different tools to scrape off the caulk.
Follow the steps below to perform the method the right way.
Step 1: Gather Materials

You’ll need your choice of caulk remover.
To make the job easier, you should figure out what kind of caulk you’re removing.
Silicone caulk, for example, is difficult to remove.
Finding a caulk remover that’s made specifically for silicone caulk makes removing it easier.
You’ll also need a utility knife or razor knife.
Needle-nose pliers are also required.
A 5-in-1 tool or a similar tool is something else you’ll need.
Finally, you’ll need bleach and a sponge to apply the remover.
You’ll also need a rag.
It’s also a good idea to have protective gloves.
Step 2: Spray Caulk Remover

Take the caulk remover and spray it into the caulk.
It’s okay to be generous with the amount that you’re using.
You’ll need to spray at a few different angles to get the spray into the tight corners.
Step 3: Spray Isopropyl Alcohol For Tough Jobs

This step is optional.
If the caulk is tough to remove, then you may want to consider using isopropyl alcohol in addition to caulk remover.
Isopropyl alcohol is effective at stripping caulk from the surface of the wall.
It just also happens to be extremely flammable, so be careful when using it.
If you choose to use it, spray the alcohol into the caulk as you did with the caulk remover.
Step 4: Slice Caulk With Utility Knife
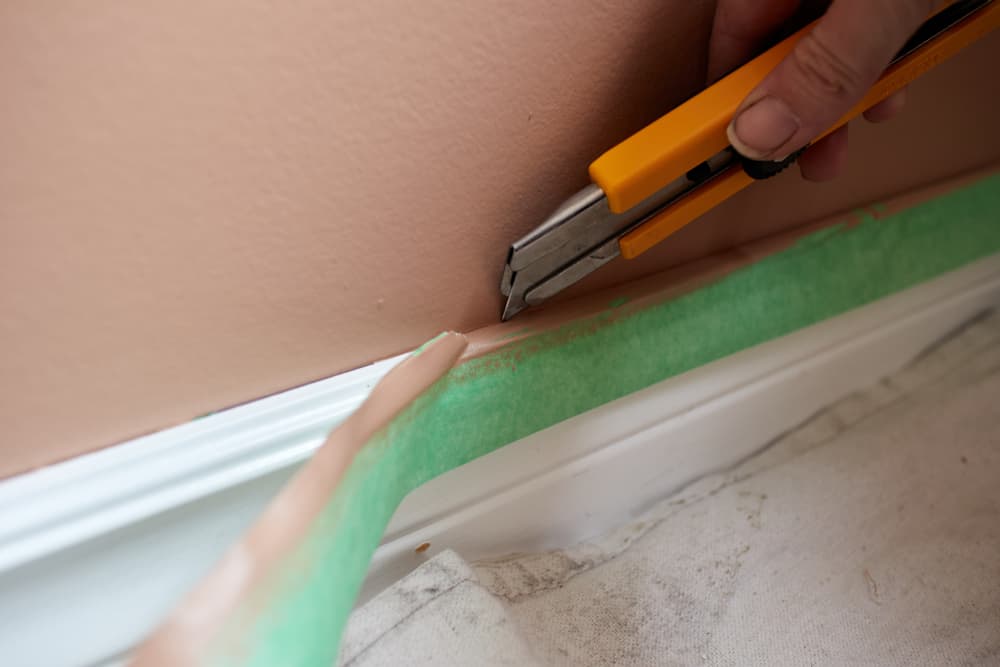
Take your utility knife or razor and start slicing into the caulk.
This step can be dangerous.
It’s a good idea to wear some type of protective gloves.
Cut-resistant gloves are the most useful.
Press the utility knife as flat against the wall as you can and cut the caulk.
You can pull loose strands away, but be careful that it doesn’t take drywall or paint with it.
Step 5: Use Pliers To Pull Off Remaining Caulk

If you don’t want to use your hands to pull off strands of caulk, then you can use the needle-nose pliers.
These are effective at gripping onto the substance and pulling it straight off.
Pliers can also help you grip parts of the caulk that are too small or thin for your fingers.
Do this step slowly to prevent damage to the wall.
Step 6: Use 5-in-1 Tool To Remove Small Pieces Of Caulk

At this stage, you should only have a few small pieces of caulk left.
Using the 5-in-1 tool can give you better control over the removal of the remaining caulk.
Any kind of multi-tool will work in this step as long as the blade is sharp and flat.
Press the flat of the blade against the wall.
Try to get under the caulk by lightly scratching it.
Pull the caulk away from the wall with the tool.
Step 7: Spray Bleach

Now that the caulk is gone, you need to clean the area.
It’s common for mold and mildew to collect beneath the caulk, especially in areas that are close to doors or windows.
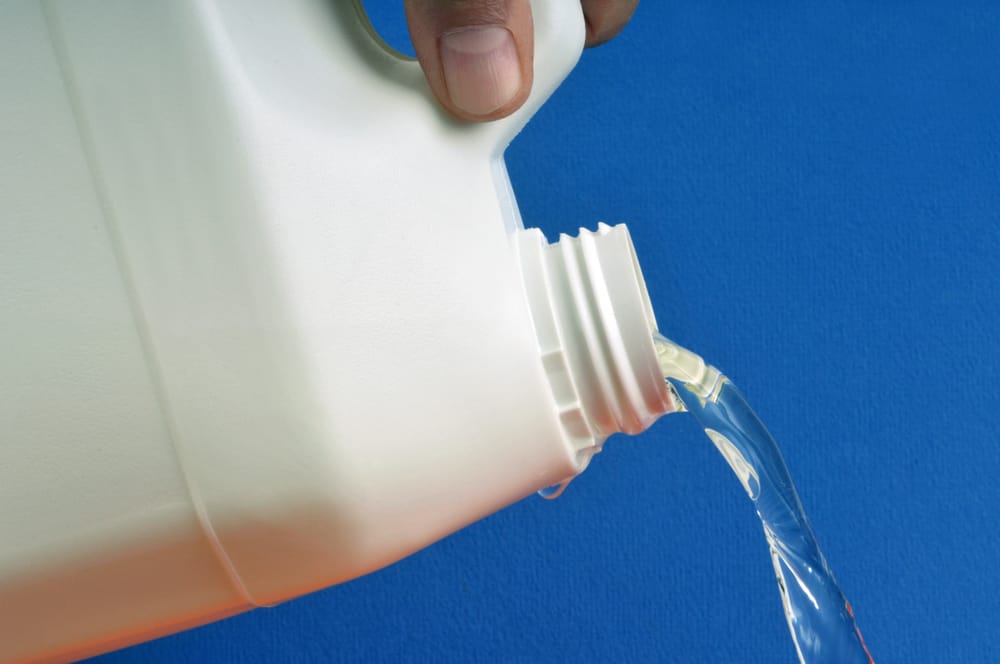
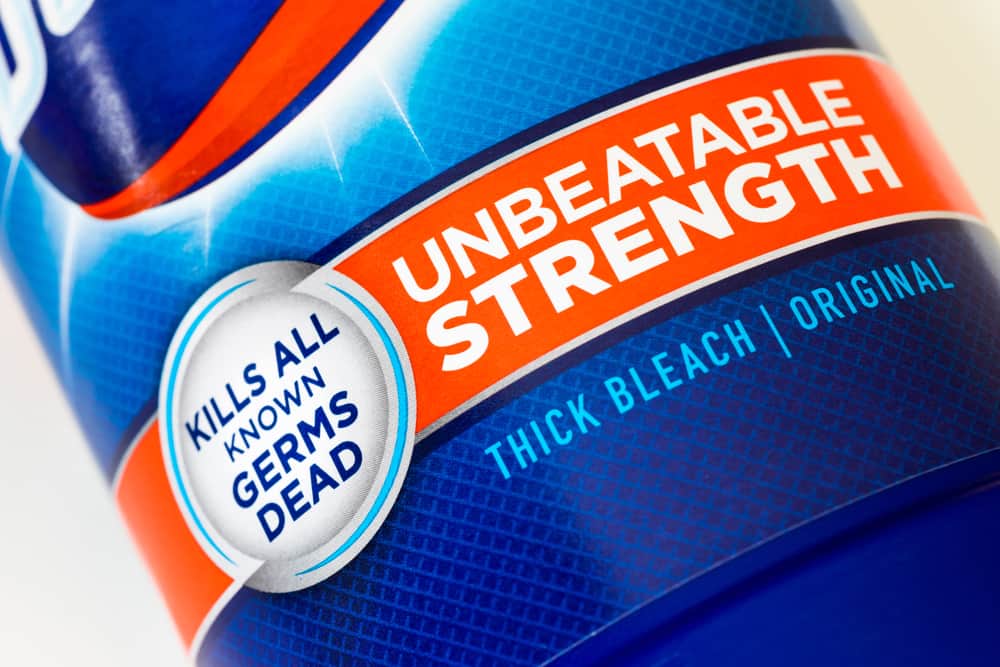
Bleach is an effective way to kill mold and mildew.
You’ll need to mix 1/3 cup of bleach with every gallon of water.
Then dip a sponge into the mixture and clean the area.
Make sure you clean deeply into the corner.
If any sticky parts of the caulk remain, the bleach can also help remove it.
Step 8: Rinse With Water

Let the bleach stand for a few minutes.
Then rinse out the sponge or use a new one to rinse the area with water.
You want to rinse the area until you don’t see any more suds.
Step 9: Wipe Area Down With Rag

The final step is to dry the area.
Using a fresh rag, wipe down the corner and help it dry.
This removes any lingering moisture that may encourage mold to grow again.
Once you’re done wiping the area down, let it air dry.
The corner will be free of the old caulk, clean, and ready for a new application of fresh caulk.
Method 2: Chisel Or Screwdriver

This is the most labor-intensive method for removing caulk from walls.
However, it’s also the cheapest.
You only need a chisel or screwdriver.
These are items that most people have in their homes.
Follow these steps to safely remove caulk from walls with either a chisel or screwdriver.
Step 1: Gather Materials

You’ll need a few tools and materials to completely remove caulk from the wall with this method.
The most important tool is either a chisel or screwdriver.
Either will work.
You’ll also need protective gloves.
It’s easy to injure yourself with these tools.
Using thick gloves that prevent cutting can keep your hands safe.
Finally, you’ll need bleach, a sponge, and a fresh rag to clean the area later.
Step 2: Use Chisel Or Screwdriver To Cut Away Caulk

Find the edge of the caulk and start cutting or chiseling it away with the screwdriver or chisel.
It will take a lot of force.
You may damage your drywall in the process.
To perform this step successfully, you need to take your time.
Go slowly and be as gentle as you can.
Going slowly will also help you prevent injuries.
Work your way along the line of caulk until it’s completely gone.
You may find that you need to pass over some areas a few different times.
That’s fine.
Leave an area for precise work later if you need to.
Step 3: Clean Area With Bleach
Once all the caulk is gone, you’ll need to clean the area.
If any little pieces remain, try to remove them with your fingers.
Then mix 1/3 cup of bleach with one gallon of water.
Use a sponge to clean the area and kill any mold or mildew that may be growing there.
Because some damage likely occurred, try to get the bleach in the damaged areas to prevent mold growth.
Step 4: Rinse With Water

Use a fresh sponge to rinse the area with water.
Again, try to get inside of the deepest corners and damaged areas.
Step 5: Wipe Down And Let Dry

The final step is to wipe the area down with a fresh rag.
Remove excess water and let it air dry.
If any damage occurred, then you can patch it with plaster.
Method 3: Caulk Scraper And Bleach

This method is like using a chisel or screwdriver except that it uses a caulk scraper.
It’s a little safer than using a chisel or screwdriver, but it does require as much effort.
Follow these steps to remove the caulk in a safe manner.
Step 1: Gather The Materials

You’ll need a caulk scraper for this method.
This is a tool designed specifically to remove caulk.
The shape of it helps you get under the caulk to scrape it away from the wall.
You’ll also need bleach, sponges, and a rag to clean the area afterward.
Protection is also strongly recommended for this method.
Wearing cut-resistant gloves can ensure you remove the caulk without injuring yourself.
Step 2: Scrape Caulk With Caulk Scraper

The main difference between using a caulk scraper and a chisel or screwdriver is that the scraper cuts caulk easier.
You can lay it flat against the wall and slowly scratch into the caulk from the side or bottom.
Then work your way up the line of caulk.
Its edges are sharp and are effective at peeling the caulk away from the wall.
Start by lining the edge of the blade up with the edge of the surface.
Then press into the caulk with the edge of the blade until you’re able to start scraping underneath it.
Repeat this process until all the layers of caulk are gone.
It will take time.
Go slow to prevent injury and damage to the wall.
Step 3: Use Bleach To Clean The Area

To keep the area clean and sanitary, you need to clean it with bleach.
Mix 1/3 cup of bleach with one gallon of water.
Then use a sponge to clean out the area.
Let the bleach soak into the area for a few minutes.
For areas that have a lot of mold or mildew, you may want to clean it a few times with bleach.
Step 4: Rinse The Area

Then use a fresh sponge to rinse the area off.
This will prevent further contamination of mold spores.
Step 5: Wipe Down The Area With A Rag

Use a clean rag to wipe excess water and bleach from the area.
If you notice any sticky areas, then apply a dab of bleach and wipe it away.
Once you’re down wiping it down, the area is ready for new caulking.
Method 4: Powered Multi-Tool With Scraper Attachment And Bleach

This method uses a multi-tool that is either battery-powered or plugged into the wall.
It replaces manual power with tool power.
It makes the job easier and less labor-intensive.
You’ll still need bleach to clean the area afterward.
Follow these steps to use the multi-tool the right way to remove caulk from the walls.
Step 1: Gather The Materials

There are several powered multi-tools out there.
You need one that has a scraper attachment.
Luckily, most powered multi-tools are compatible with some kind of scraper.
You’ll also need to buy the scraper.
If possible, try to find one that’s used for caulk removal.
You’ll need to gather bleach, sponges, and a rag for the cleaning portion of this project.
Finally, wear protective gloves to handle the multi-tool safely.
Step 2: Turn On Multi-Tool And Line Up The Edge With The Caulk

Turn your multi-tool on after attaching the scraper.
Then line up the vibrating edge to the caulk and press into it.
The power of the multi-tool will allow the scraper to cut and scrape into the caulk.
Go slowly to keep tight control of the direction of the scraper.
The multi-tool isn’t powerful enough to cause damage to the wall if you use it on moderate power.
Step 3: Use Flat Part Of Scraper To Finish Removing Caulk

Once you’ve cut the caulk with the edge of the scraper, you can use the flat of it to finish the job.
Press the flat part of the blade against the wall and use it to scrape away the bottom layer of caulk.
This process will also help smooth out the area.
You can remove any lingering strands of caulk with your fingers.
Step 4: Bleach The Area

Mix 1/3 cup of bleach with one gallon of water.
Then dip a sponge into the bucket and wash the area.
It will kill any mold or mildew lingering in the area.
It can also help wash off any leftover pieces of caulk.
Step 5: Rinse The Area

Then take a sponge and rinse the area with water.
Start from the top and work your way down.
Step 6: Wipe Area With Rag

Finally, take a fresh rag and wipe down the area.
As with the sponge, work your way from the top to the bottom.
Then let the area air dry before applying new caulk.
Method 5: Heat Gun And 5-in-1 Tool

Some caulk is weak enough that you only need a heat gun to soften it.
Then you can use a 5-in-1 tool to scrape it off.
Working with heat guns can be dangerous.
Follow these steps to do it the right way.
Step 1: Gather The Materials
You’ll only need a few materials and tools to remove the caulk with this method.
You’ll need a heat gun, a 5-in-1 tool, and some bleach to clean the area if necessary.
Because heat guns will get hot, it’s also advisable to wear protective gloves.
Step 2: Place The 5-in-1 Tool 45-Degrees To Wall

Hold the edge of the blade at 45-degrees to the caulk.
Then keep it there.
You’ll want it right where the caulking begins.
Step 3: Heat The Caulk And Blade With Heat Gun

Turn on the heat gun and direct the heat at the caulk and blade.
The heat will help soften the caulk.
Heating the blade also helps it cut into the caulk more easily.
You’ll need to wait for a few minutes for the blade and caulk to become hot enough.
Step 4: Slowly Scrape Caulking

Use the blade to slowly scratch and peel away the caulking.
Slicing it should be easier with the heat than without it.
The blade will be extremely hot, so be careful when using it.
You may need to perform a few passes to get every strand of caulk from the wall.
Step 5: Clean Area With Bleach

If necessary, mix 1/3 cup of bleach with a gallon of water.
Then run a sponge along the area where the caulk was.
Clean it out to remove mildew and mold.
Step 6: Rinse With Water

Use water with a fresh rag to rinse the bleach from the area.
Step 7: Wipe Down Area With Rag

Use a fresh rag to remove the water and bleach.
Let it air dry and cool.
You’ll want to let your blade cool, too.
The wall is free of caulk.
Conclusion

There are several methods you can use to remove caulk from walls.
Some require more labor than others.
The cheapest way is to use a screwdriver or chisel to cut and scrape the caulk away.
The more expensive methods require the use of a caulk remover.
Choose the method that works best for your needs and follow the instructions above to do it right.


Leave a Reply